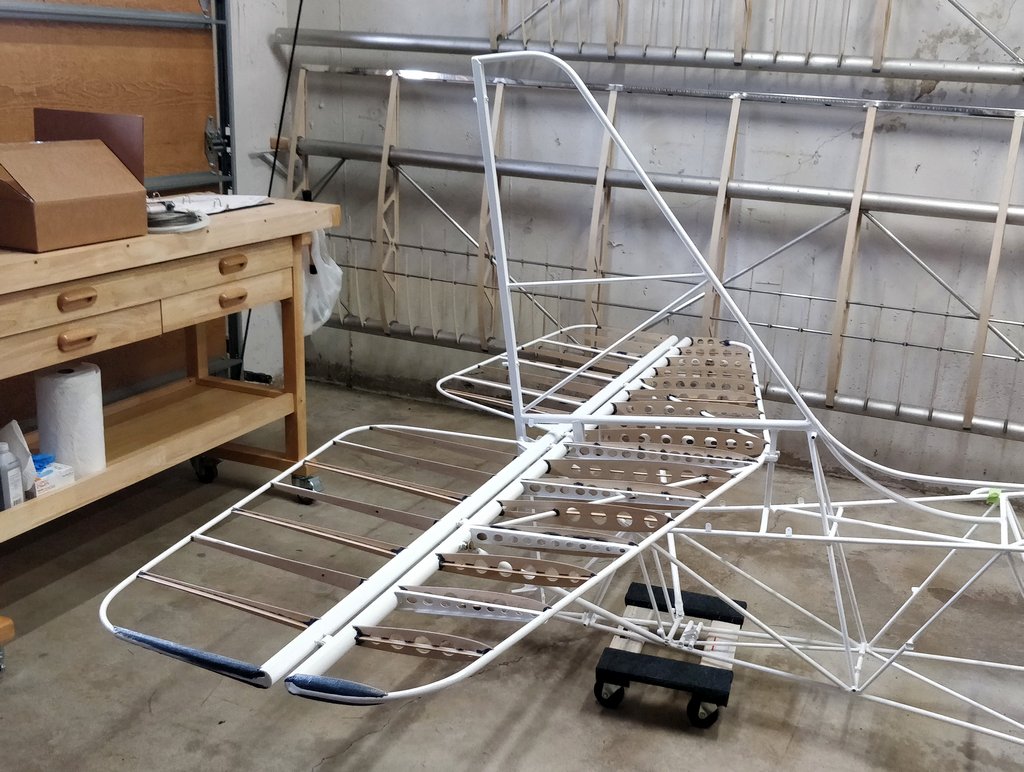
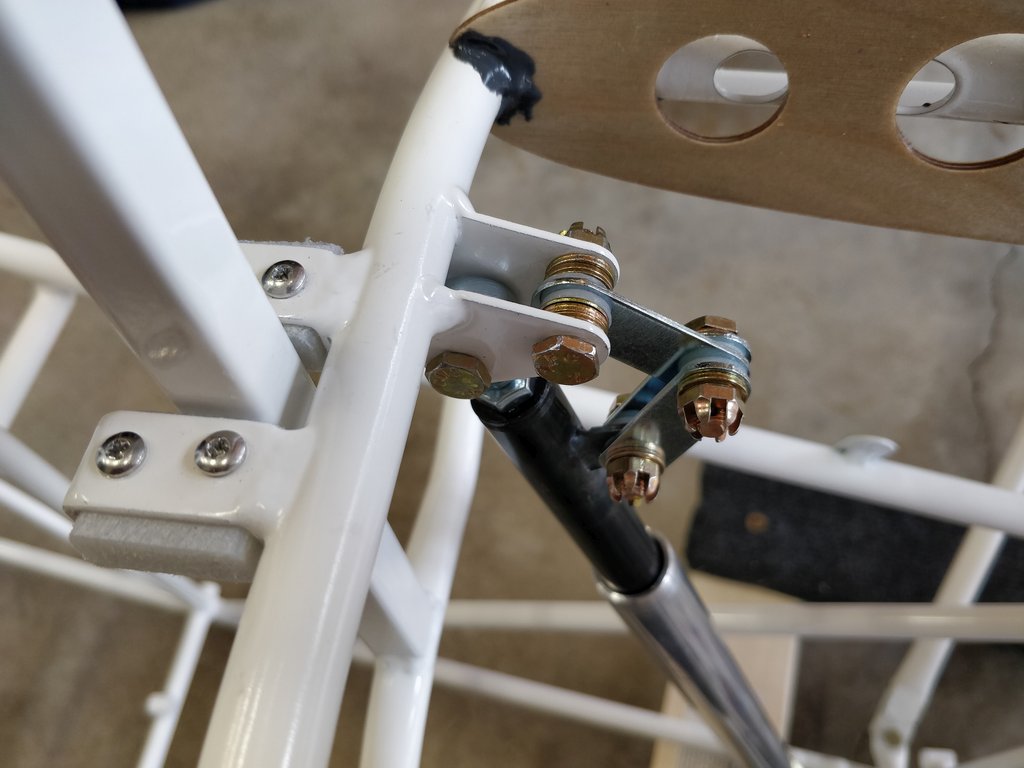
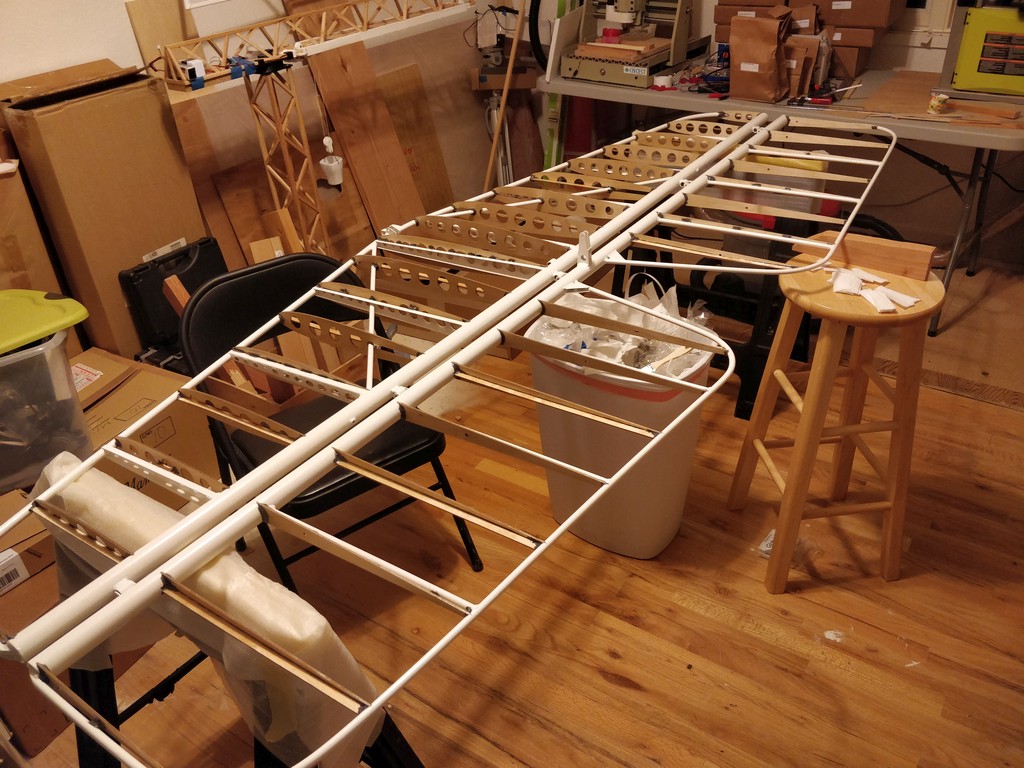
Test fit of horizontal stabilizer. The elevator hinges were a bit too tight, but polishing the bushings a tad helped getting all together nicely. The electric trim was also assembled. The cotter pins are missing here since we need to disassemble this one more time. The elevator moves nicely with a little 9V block.
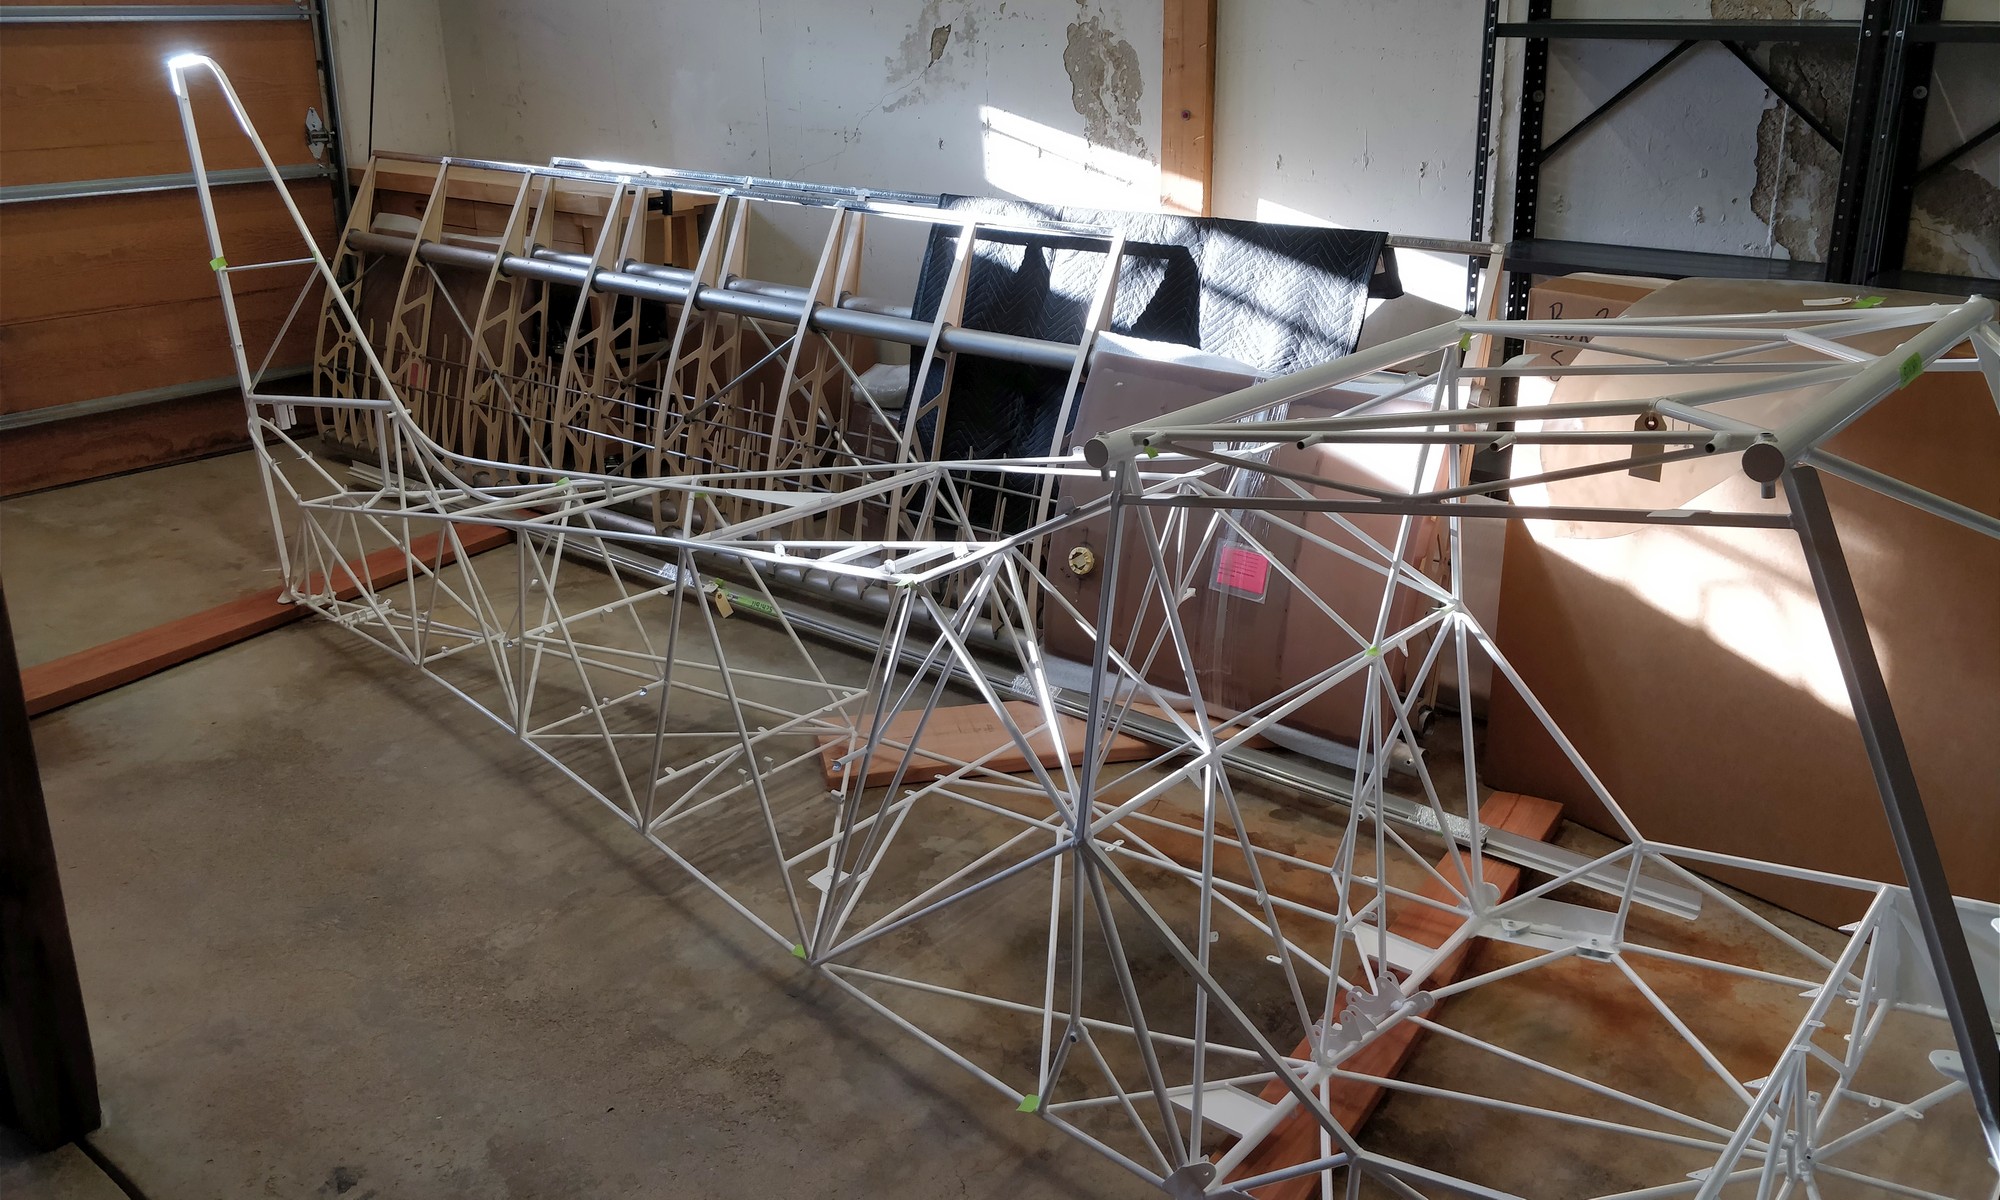
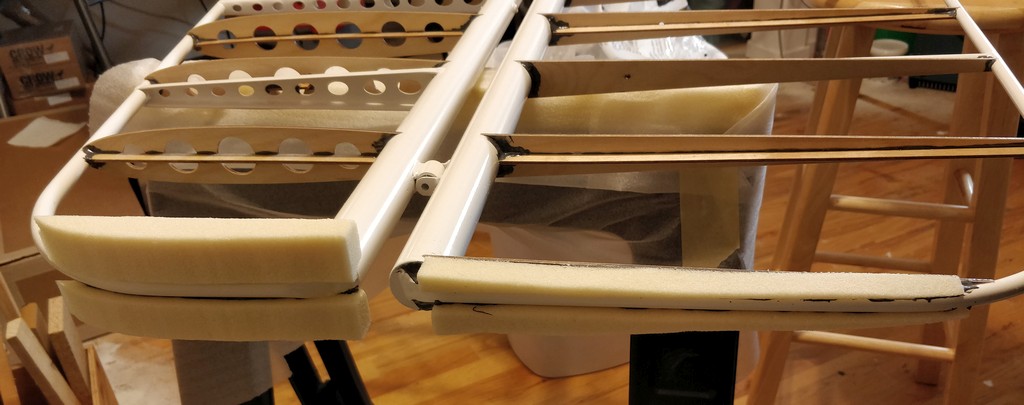
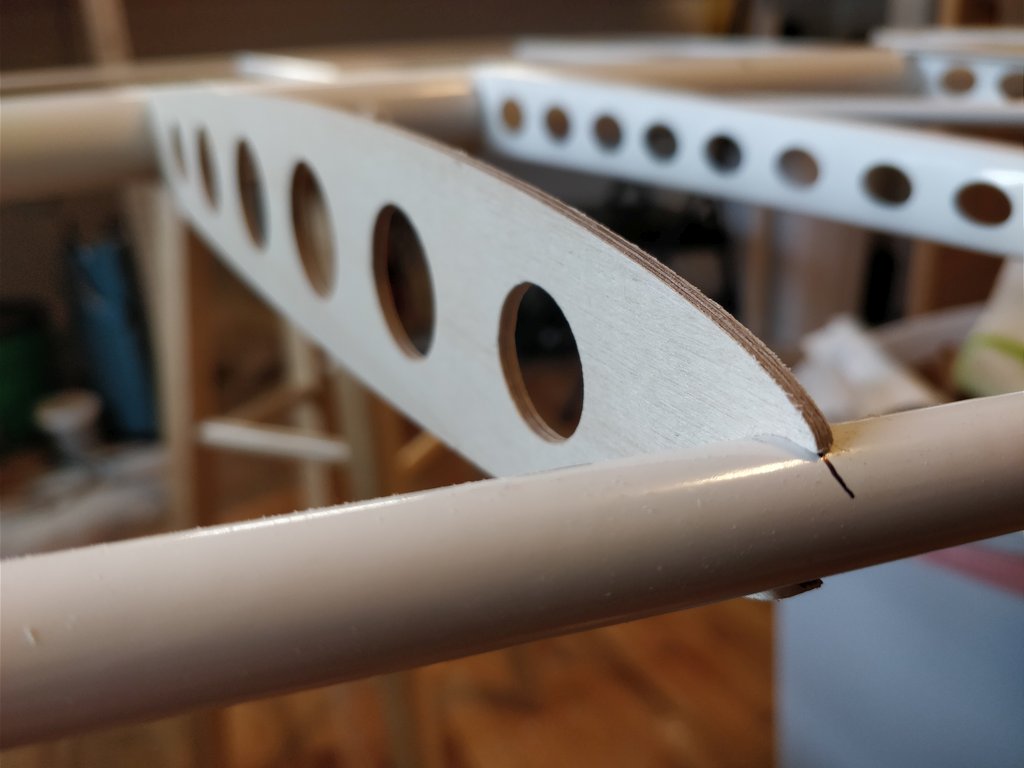
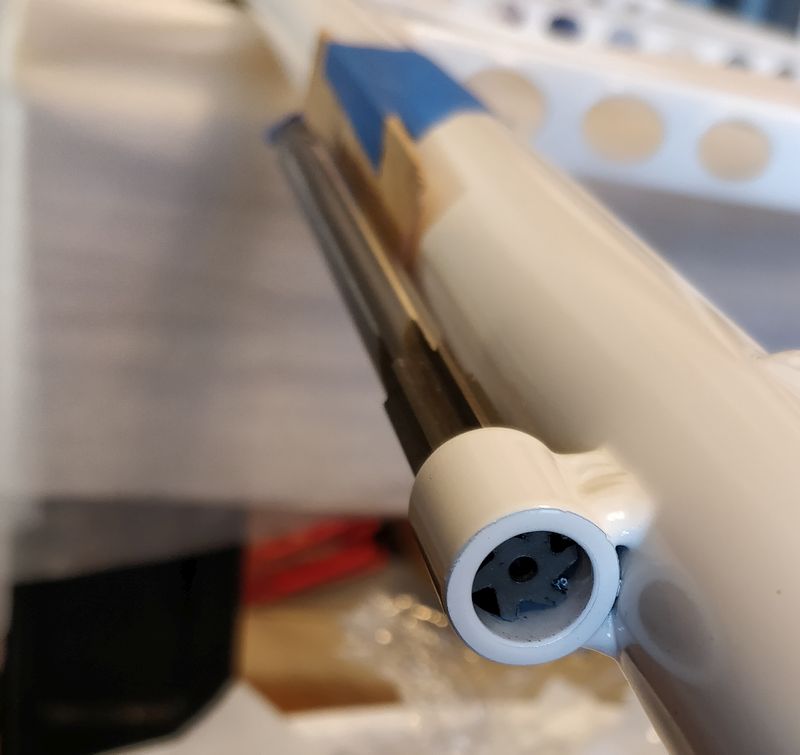 Started reaming the horizontal stabilizer. Of course, all the hinges are very close to the tubes, which makes it quite tricky to hold the reamer. The grinder got busy on the reamer end, so that the vice grip has something to hold onto. A little piece of scrap wood helped to protect the weldment. All took a bit longer than I expected…