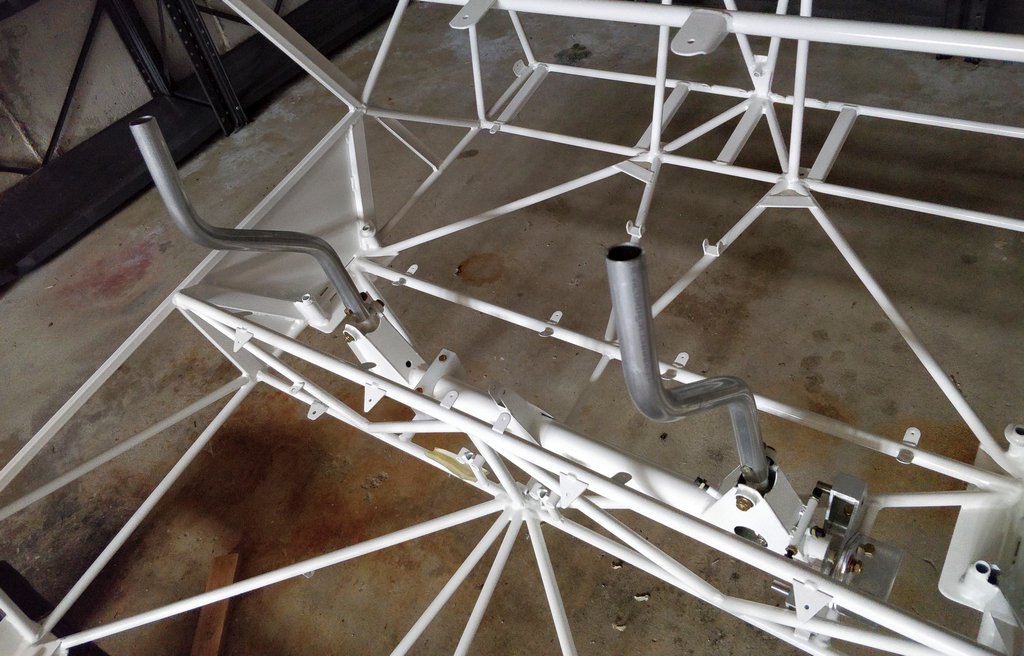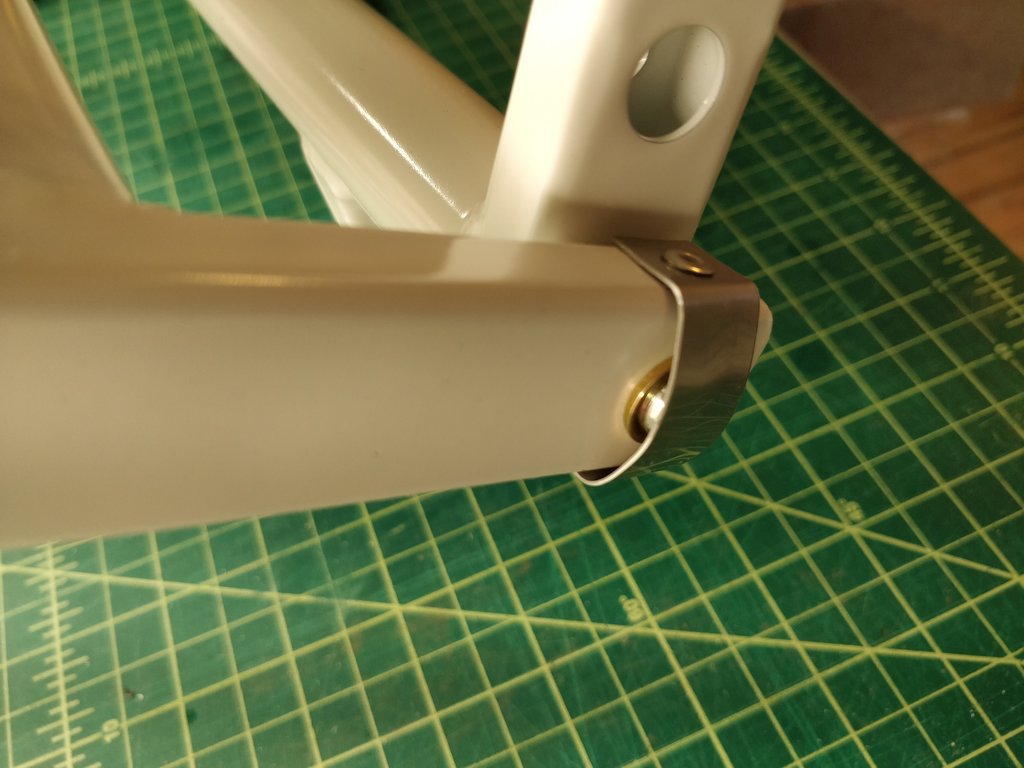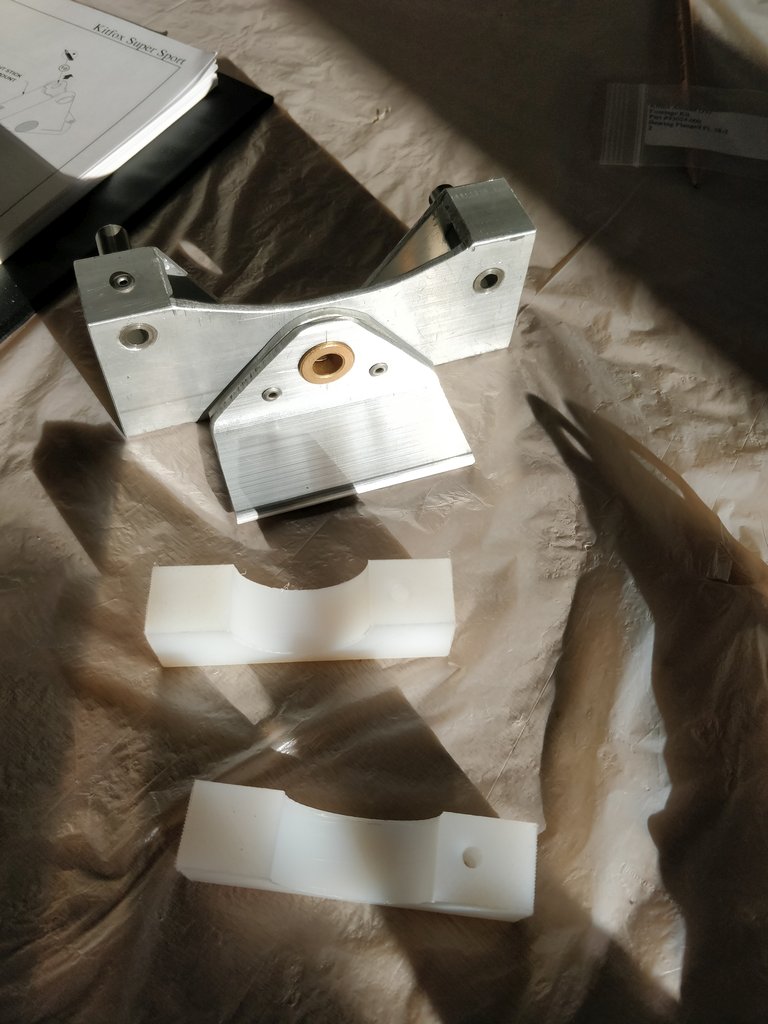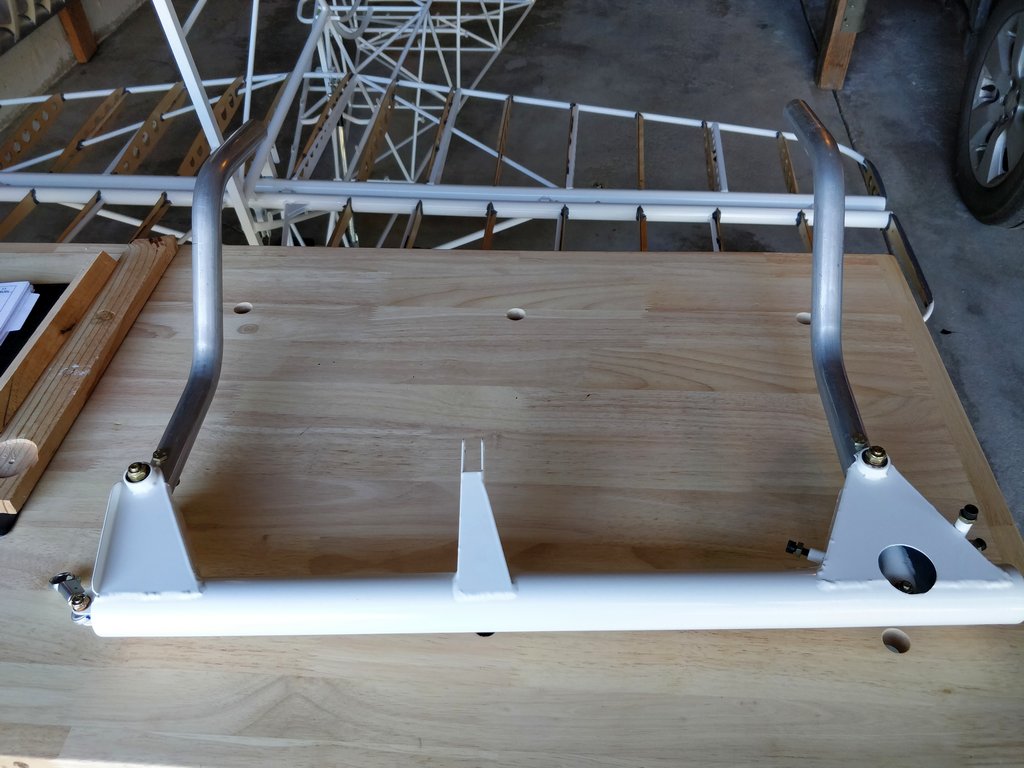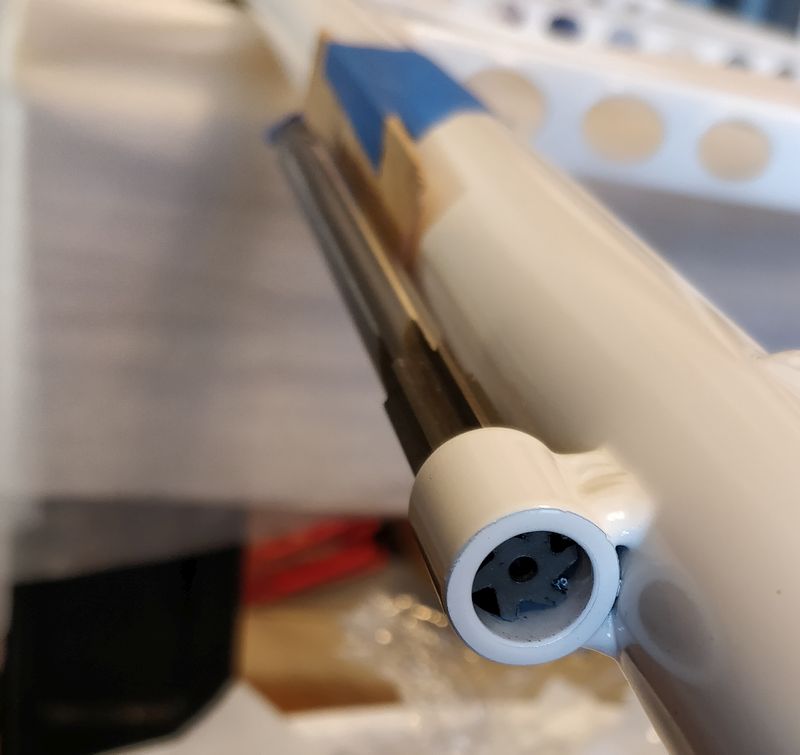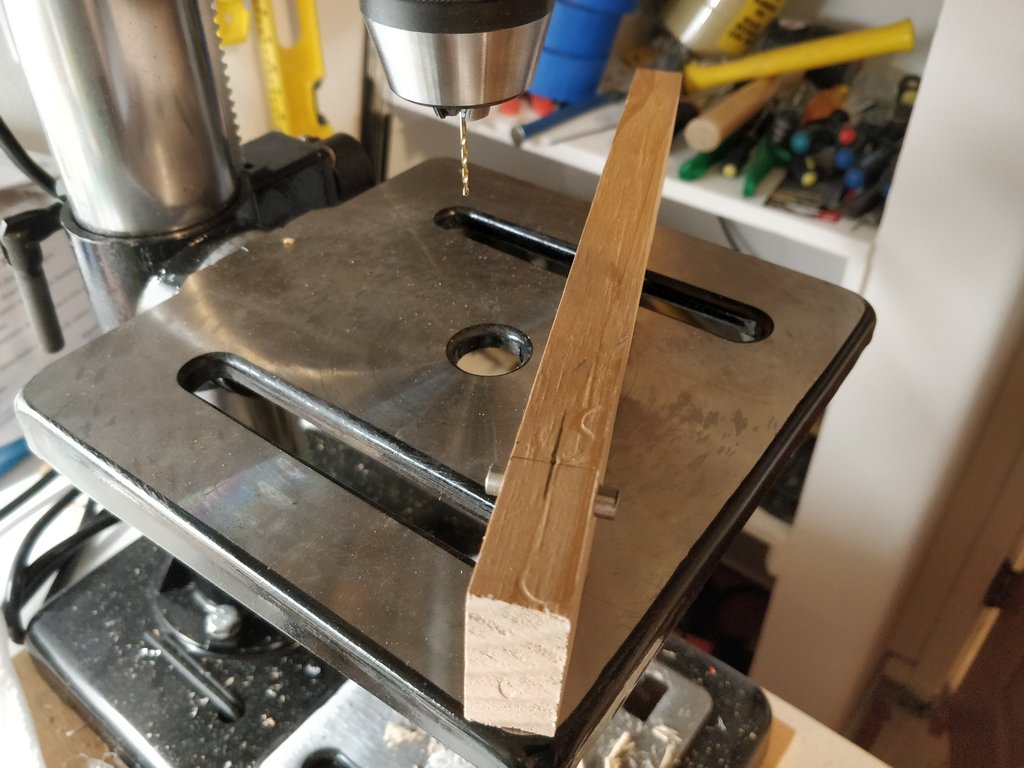
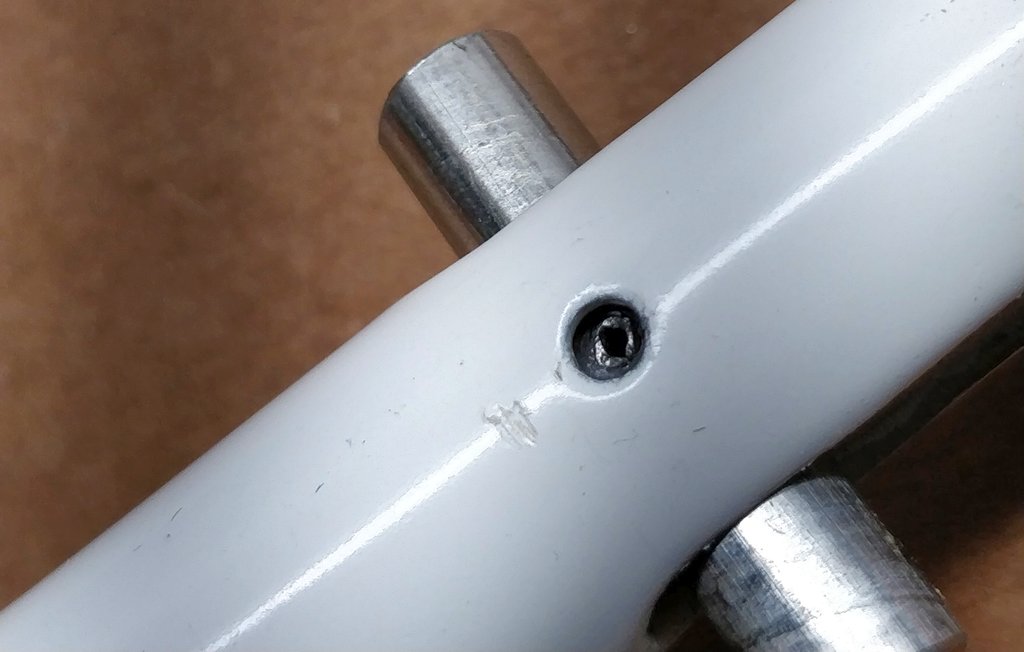
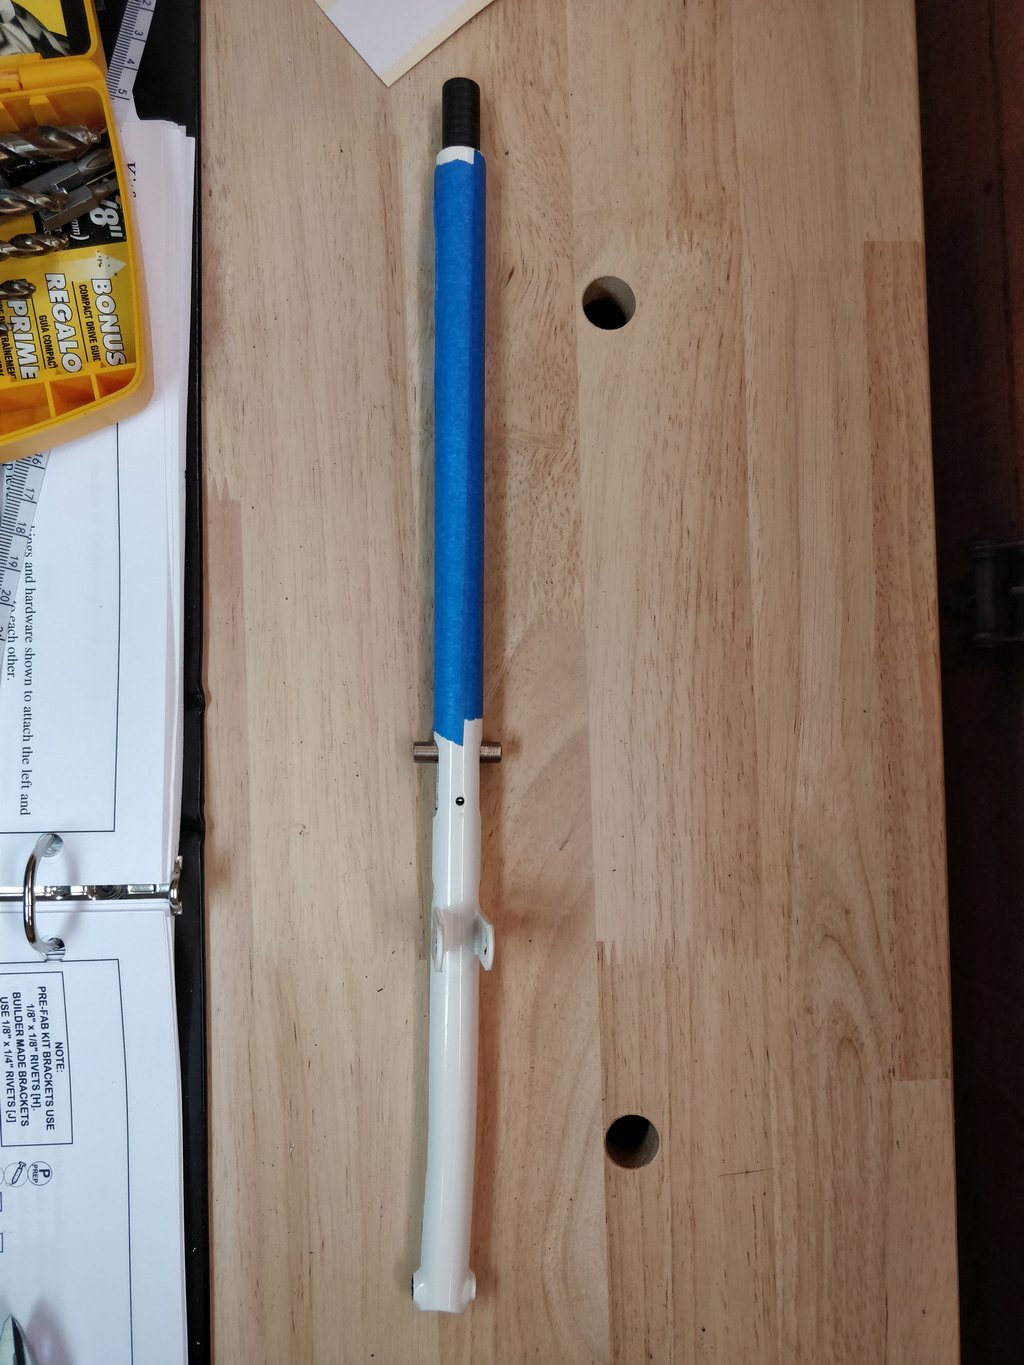
After trying to fit the lever into the center console, it turned out that the attach points for it were welded slightly twisted. A a result the lever would rub on the side of the slot (see later post). After a little discussion (i.e. 20 really hard blows with a 3 lbs mallet) all finally fit nicely.
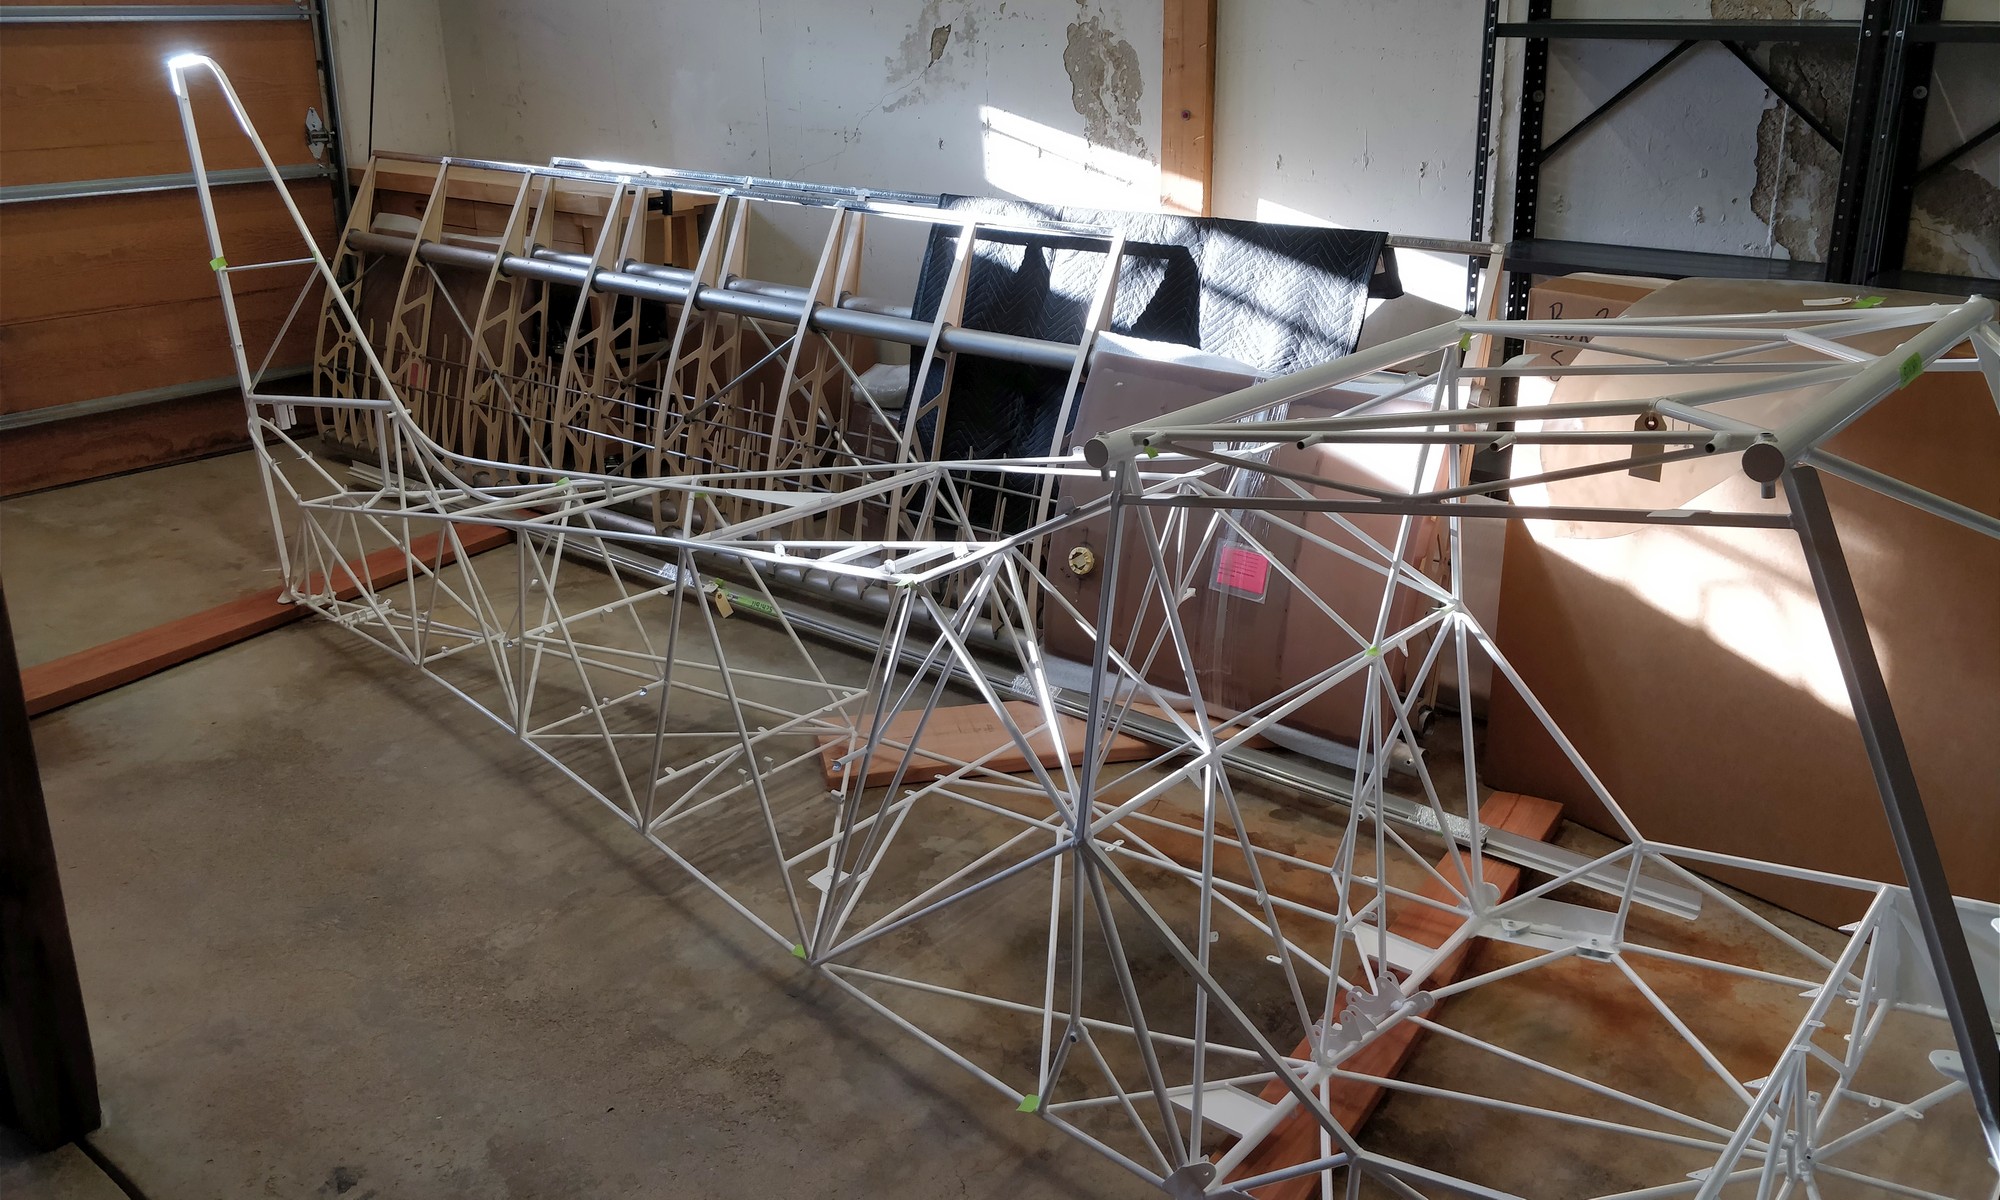
Test Install of the Control Column
This is a lot of fun! The control column assembly and the mixer and idles are fun to install. Can’t wait to see this all in action.
Starting with the Control Column Assembly
My very first pop rivets!! It’s fun! How could I live without them for so long?
Some reaming and grinding required, but in all, quite quick to assemble.
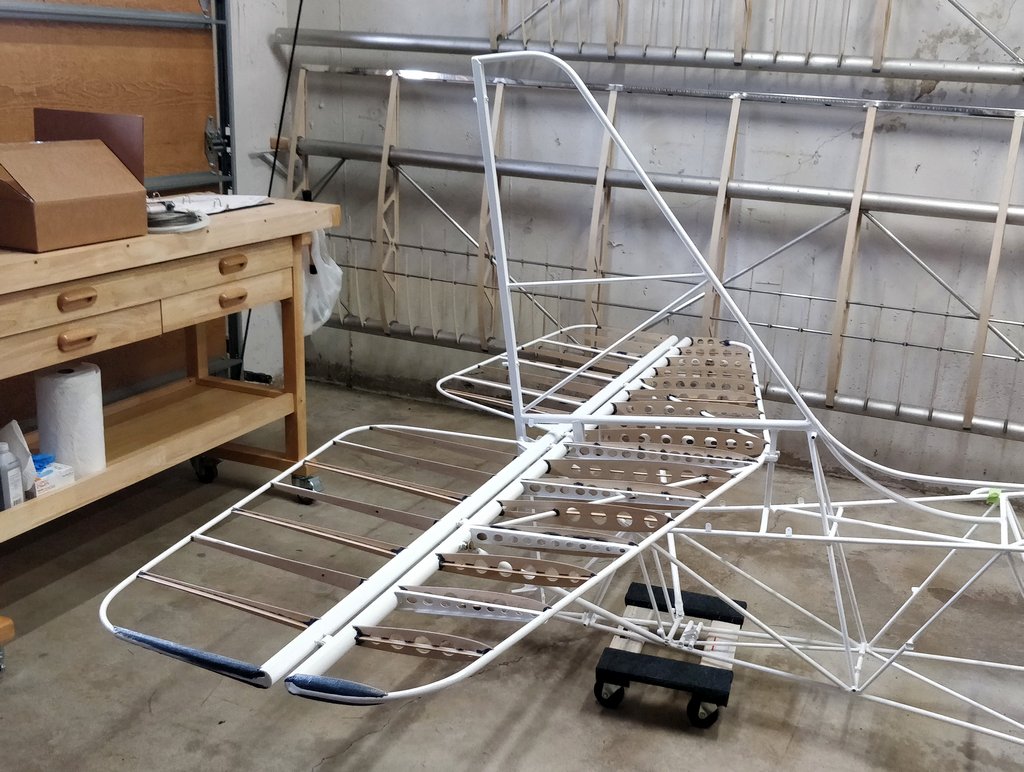
Test Fit of the Horizontal Stabilizer
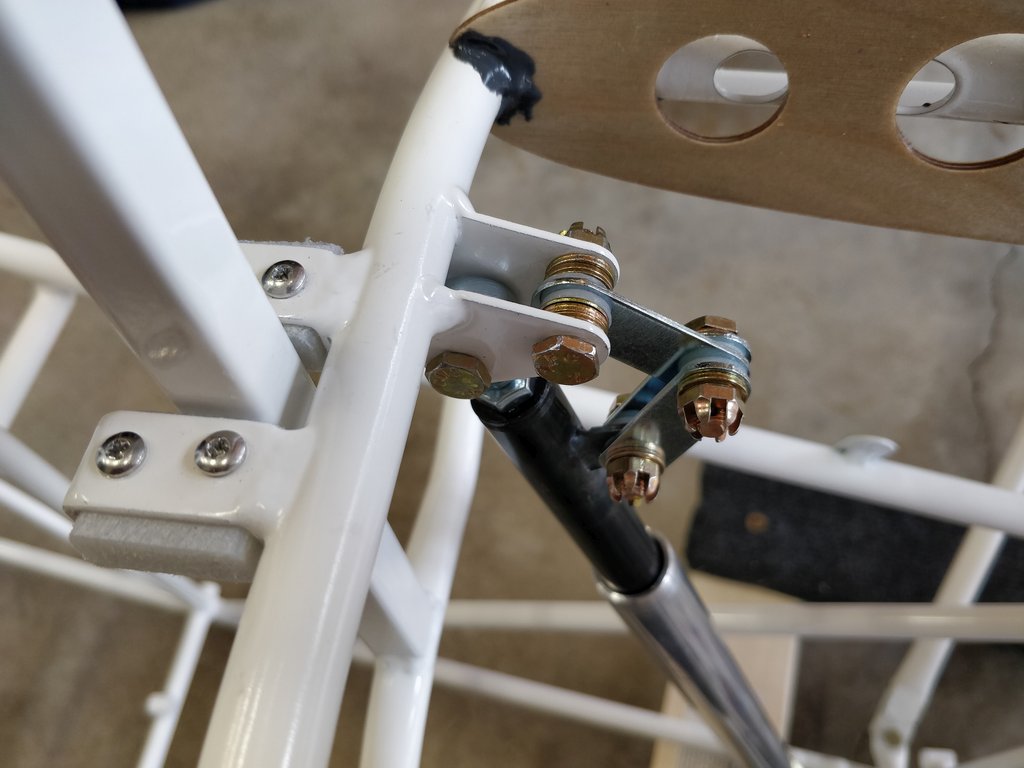
Test fit of horizontal stabilizer. The elevator hinges were a bit too tight, but polishing the bushings a tad helped getting all together nicely. The electric trim was also assembled. The cotter pins are missing here since we need to disassemble this one more time. The elevator moves nicely with a little 9V block.
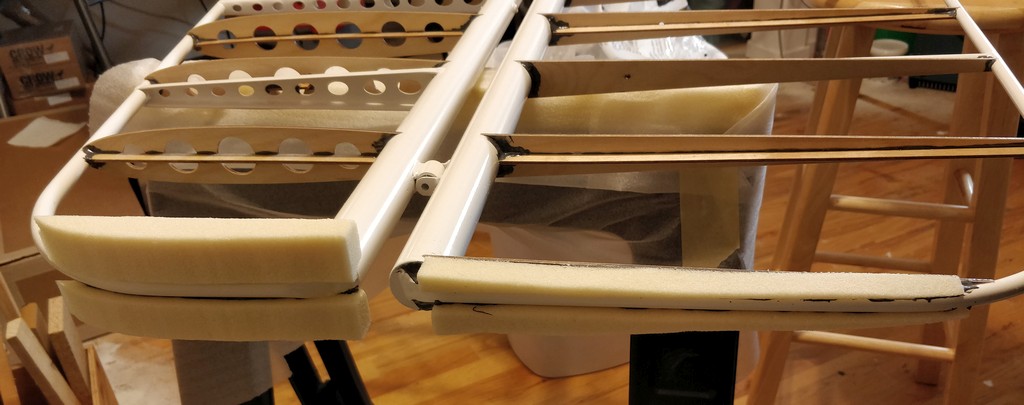
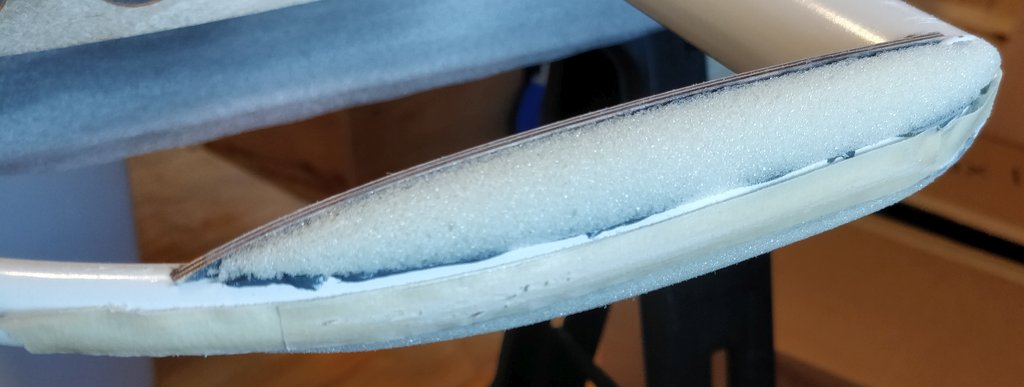
Streamlining the Horizontal Stabilizer Tips
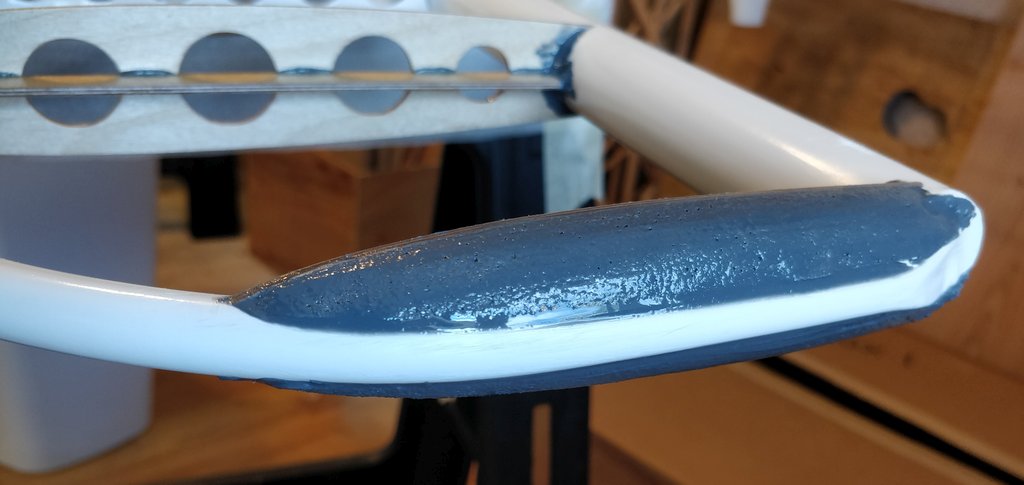
Shaping the stabilizer tips is straight forward. I opted to use the foam that was included in the kit. After sanding it (taking care not to scratch the weldment), I applied a thin layer of Hysol. The end result is surprisingly strong! Let’s see if it can withstand the heat when attaching the fabric.
Finished the elevator by adding rib stiffeners to all free-standing ribs. The local hardware store indeed sold a nice 2.5mm ply labeled ‘For aircraft use’! Two layers of PolyFiber Epoxy varnish added for the trips to the Caribbean.
Adding some rib stiffeners
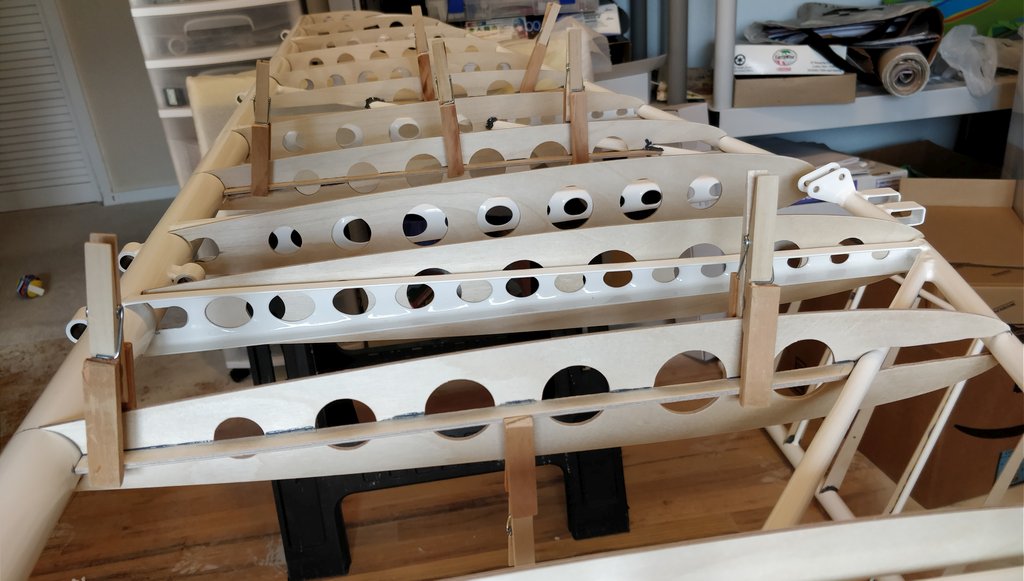
Since the ribs don’t have cap strips, the long ribs show quite a bit of flex. Adding rib-stiffeners to those ribs will prevent them from bowing. The stiffeners are glued to the side of the ribs with a bit of Hysol. (Note the re-purposed laundry clips to hold them in place for ~24 hours. I guess I have to use the dryer from now on…)
Fitting ribs, horizontal stabilizer
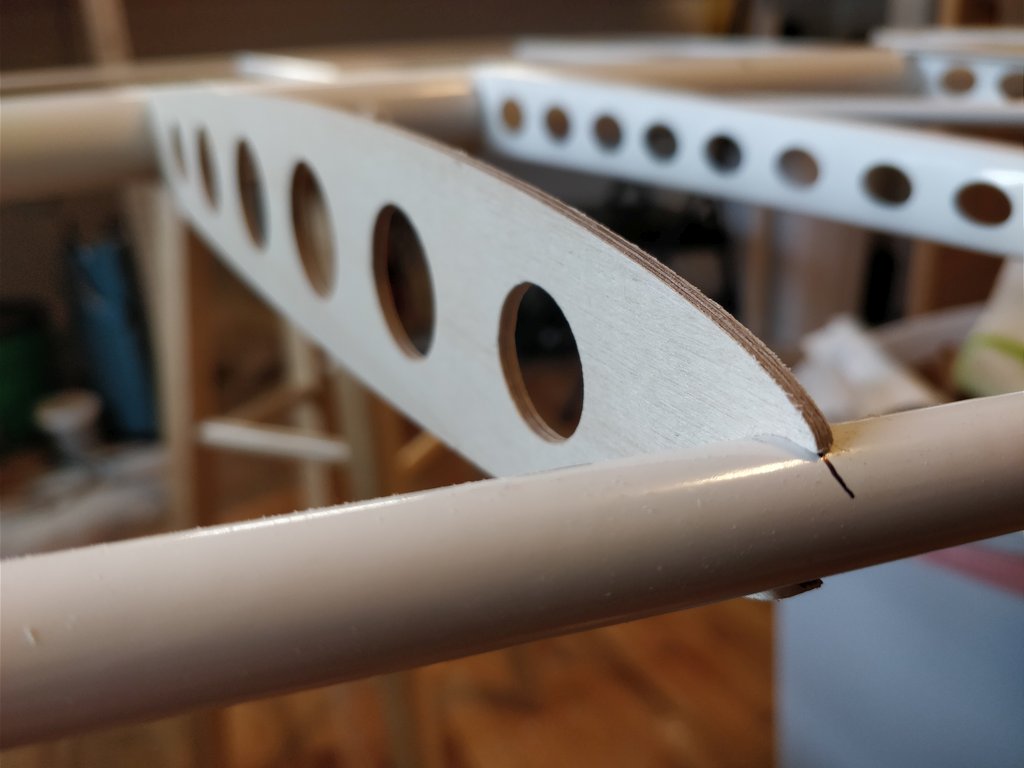
The ribs come CNC pre-cut from spruce (?) plywood. They are intentionally left slightly too large. Trimming them is easy. A small hand-held rotary tool (aka. Dremel tool) will be your friend for these days!
Starting with the horizontal stabilizer
Started reaming the horizontal stabilizer. Of course, all the hinges are very close to the tubes, which makes it quite tricky to hold the reamer. The grinder got busy on the reamer end, so that the vice grip has something to hold onto. A little piece of scrap wood helped to protect the weldment. All took a bit longer than I expected…
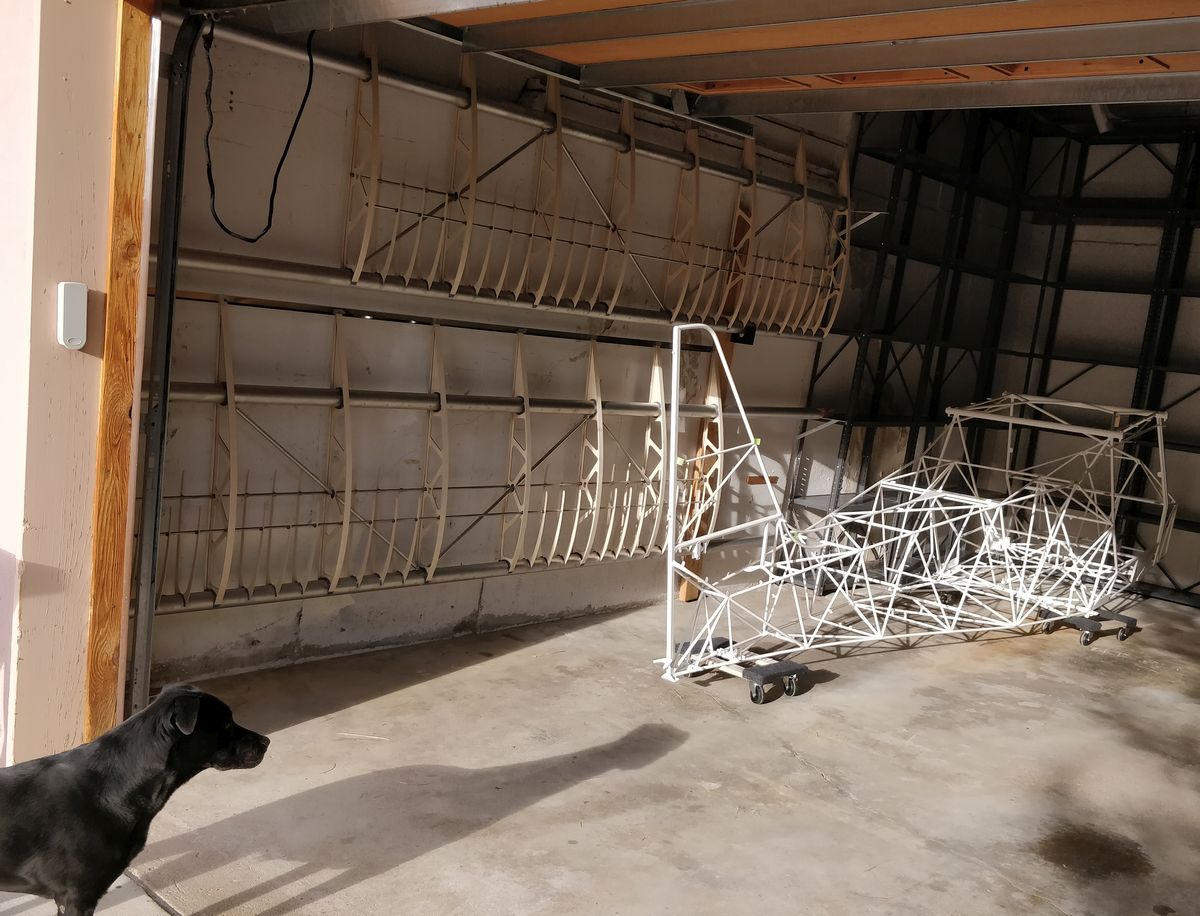
Getting closer to the start
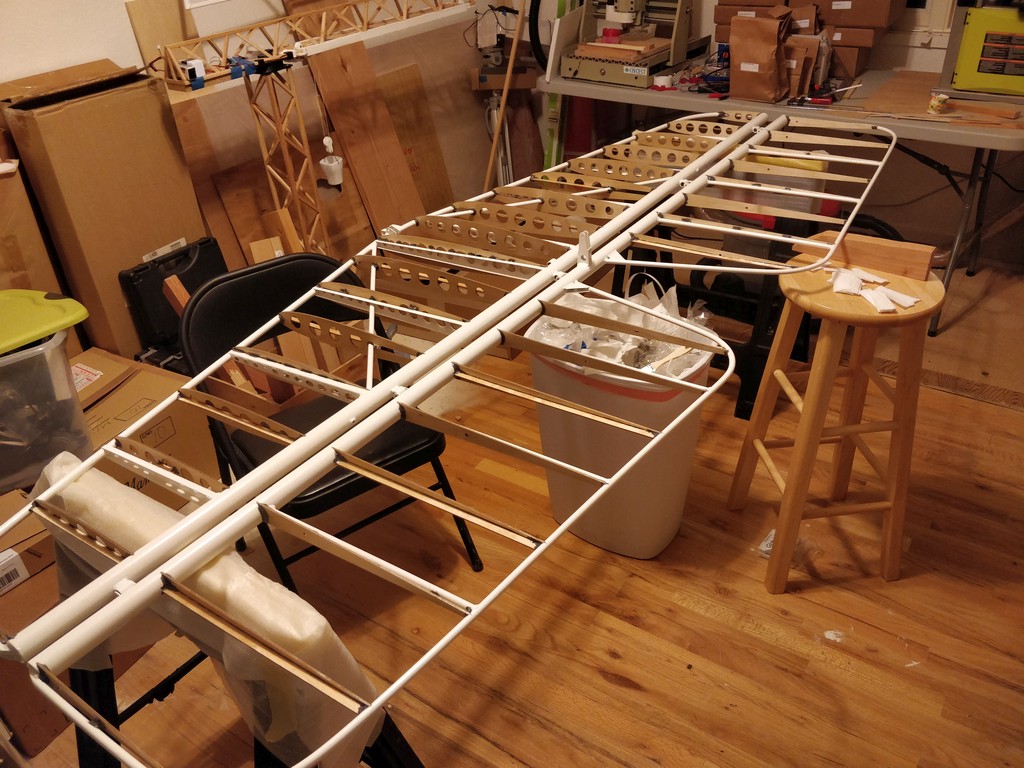
The wings are hung, the inventory done. Getting closer to starting the build.